How to Muzzle Train Your Dog: A Stress-Free Step-by-Step Guide
A dog lunges at the veterinary exam table. A leash-reactive dog passes another dog on a narrow sidewalk. A rescue dog needs grooming but snaps when touched around the ears. In each situation, a muzzle is not a last resort — it is a responsible safety tool that protects both the dog and the people around them.
Yet muzzle training remains one of the most underused skills in everyday dog care. Many owners associate muzzles with aggression or feel guilty using one. The Muzzle Up! Project, a community advocacy effort built around positive muzzle use, has worked for years to shift that perception: a muzzle on a well-trained dog is no different from a seat belt in a car. You wear it not because something will go wrong, but because preparation matters.
This guide walks through a 5-step muzzle training protocol using counter-conditioning and desensitization — the same approach recommended by certified professional dog trainers and veterinary behaviorists. Each step is designed to give your dog complete choice and control, which is exactly what makes the training last.
Why Every Dog Benefits from Muzzle Training
Muzzle training is not a correction tool for aggressive dogs. It is a cooperative care skill that every dog should have — including yours, whatever their temperament.
Common Misconceptions About Muzzles
The most persistent misconception is that a muzzle signals a dangerous dog. In reality, muzzle use in many European countries is standard practice on public transport and in veterinary clinics regardless of a dog’s bite history. A muzzle says nothing about a dog’s character; it says something about a responsible owner.
A second misconception is that dogs “know” a muzzle is a punishment. Dogs do not interpret objects symbolically the way humans do. What they associate with a muzzle is entirely shaped by training. A dog trained through force learns to dread the muzzle. A dog trained with food and patience learns to walk toward it.
When Muzzle Training Becomes Essential
Certain situations make a muzzle not just useful but necessary:
- Veterinary examinations: Even a gentle dog may snap when in pain. Many clinics will apply a muzzle without preparation if they anticipate risk, which can be traumatic for an untrained dog.
- Grooming: Nail trims, ear cleaning, and face trimming involve contact in sensitive areas. Dog barking and reactive behavior during grooming often escalates from discomfort — a prepared muzzle prevents escalation to a bite.
- Leash-reactive dogs: For dogs who react strongly to other dogs or strangers on leash, a muzzle provides a safety margin that allows leash reactivity training to continue in real-world environments without unacceptable bite risk.
- Public transport: Many transit systems and taxi services require muzzles for dogs above a certain size. A dog unfamiliar with a muzzle cannot simply be fitted with one on a platform without distress. The complete guide to traveling with dogs on public transport covers these requirements in detail.
- Emergency situations: An injured dog in pain will bite instinctively. A dog already trained to accept a muzzle can be safely handled and transported when it matters most.
- Resource guarding scenarios: Dogs who guard food, toys, or spaces may need management tools while resource guarding modification is in progress.
Choosing the Right Muzzle for Training
Not all muzzles are suited to training. The type you choose significantly affects how quickly your dog can learn — and how comfortably they can wear the muzzle once trained.
Fabric (Nylon) Muzzles
Soft muzzles made from nylon or mesh hold the mouth nearly shut. They prevent biting effectively, but they also prevent panting and drinking — which means a dog cannot thermoregulate while wearing one. These muzzles are appropriate only for very brief procedures (a quick nail trim, a blood draw) and should never be left on a dog unattended or for more than a few minutes.
From a training standpoint, fabric muzzles are the hardest to introduce. The snug fit is immediately uncomfortable, luring treats inside is nearly impossible, and the restriction of panting causes stress quickly.
Basket Muzzles
Basket muzzles — whether plastic, wire, or rubber — are the gold standard for muzzle training. The open cage structure allows a dog to pant freely, drink from a bottle, and accept treats through the front or side. A dog wearing a properly fitted basket muzzle can be exercised, walked, and left in situations that require extended wearing.
The ability to feed treats through the basket is what makes the entire training protocol in this guide possible. For virtually all training purposes, a basket muzzle is the right choice.
Silicone Muzzles
Silicone basket-style muzzles are a newer option that combines the structural advantages of a basket with a softer feel. They are lighter than wire, more flexible than rigid plastic, and some dogs tolerate the initial introduction more readily because the material is less alarming visually. Treat delivery through the front is usually possible, though the opening is sometimes smaller than a wire basket.
How to Measure and Fit a Muzzle
A muzzle that fits poorly will cause discomfort regardless of how well the training went. Before purchasing, measure two dimensions:
- Snout circumference: Wrap a soft tape measure around the widest part of the snout (usually just below the eyes) with the mouth fully open and panting. Add 1–2 cm to allow for full panting movement.
- Snout length: Measure from the base of the snout (below the eyes) to the tip of the nose. The muzzle basket should extend slightly beyond the nose tip to avoid pressure.
| Muzzle Type | Training Suitability | Panting | Treats Through Muzzle | Ideal Use |
|---|---|---|---|---|
| Fabric/Nylon | Poor | No | No | Seconds-long procedures only |
| Plastic Basket | Excellent | Yes | Yes | Training, long-duration wear |
| Wire Basket | Excellent | Yes | Yes | Training, extended wear |
| Silicone Basket | Good–Excellent | Yes | Usually yes | Training, sensitive dogs |
Before You Start: Setup and Supplies
Effective muzzle training is built on two elements: the right food and the right environment. Neither requires anything elaborate.
High-Value Treats and Tools
The treats you use for muzzle training should be significantly more rewarding than what your dog encounters during regular training. The goal is to build a strong positive association with something novel and potentially strange-looking. Consider:
- Squeeze cheese or canned cheese: Smearable into the inside of the muzzle basket for duration steps. Most dogs find it irresistible.
- Peanut butter: Same application. Verify the product contains no xylitol before use.
- Boiled chicken or hot dog pieces: Small, soft, and high-value. Useful for early approach and target steps.
- A squeeze tube or lick mat: Allows you to deliver continuous, controlled treats during extended wearing, which helps bridge duration.
Creating the Right Training Environment
The training environment influences how quickly your dog learns to relax.
- Choose a familiar, quiet room where your dog already feels safe.
- Eliminate competing distractions — other pets, outside noise, your own phone.
- Keep sessions to 3–5 minutes maximum, especially in the first week. Muzzle training requires sustained attention and new associations; longer sessions lead to saturation, not progress.
- Train before meals when your dog is motivated, not immediately after when they are full.
- End every session while your dog is still engaged and happy — stop before they disengage.
Step 1: Introduction — Let Your Dog Explore
Timeline: 1–2 days
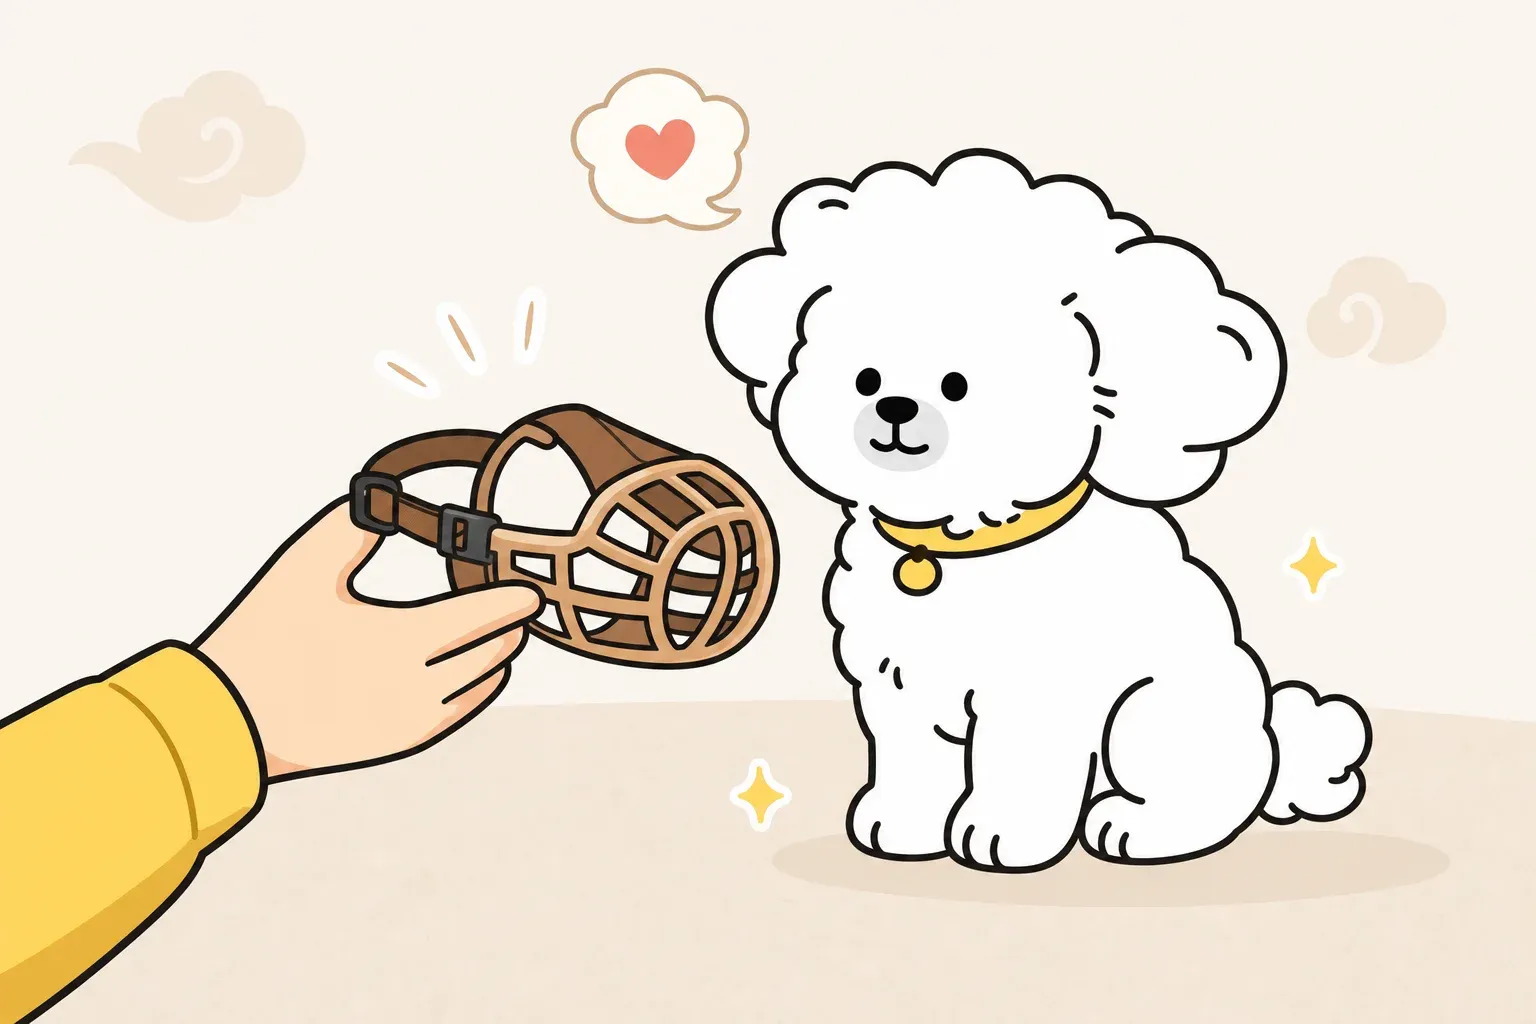
The first step has one goal: the muzzle appears, and nothing bad happens. In fact, the muzzle appearing reliably predicts good things. Do not put the muzzle near your dog’s face. Do not reach toward them with it.
Placing the Muzzle on the Ground
Set the muzzle on the floor in front of your dog. Let them approach and sniff it entirely on their own terms. The moment they look at it or move toward it, mark the behavior (“yes” or a clicker) and reward with a treat — dropped on the ground away from the muzzle so they naturally look back at it.
If your dog ignores the muzzle, place a treat near it. As they eat the treat, they will inevitably orient toward the muzzle. Mark and reward that glance.
Rewarding Any Interaction
At this stage, any voluntary interaction counts: sniffing, pawing, nudging. Each interaction gets a mark and a reward. You are not asking the dog to do anything specific — you are simply establishing the rule that muzzle = treats appear.
Repeat this 8–10 times per session, two sessions per day. Move to Step 2 when your dog actively approaches the muzzle when it appears.
Step 2: Nose Entry — Building Voluntary Contact
Timeline: 2–4 days
Step 2 introduces the concept of the dog voluntarily placing their nose into the muzzle. The critical rule is that the dog always chooses. You never push their nose in, hold them, or force contact.
Luring With Treats Inside the Muzzle
Hold the muzzle in your hand with a treat placed just inside the opening — visible, accessible, and easy to reach. Present the muzzle at nose height and wait. When your dog pushes their nose in to get the treat, mark and reward.
If your dog hesitates, rub a small amount of squeeze cheese around the rim of the muzzle opening. The scent encourages investigation. Do not thrust the muzzle toward the dog — hold it still and let them come to it.
Moving Treats Deeper Gradually
Once your dog confidently pushes their nose in to reach a treat at the front of the basket, start placing treats slightly deeper. Over several repetitions, the nose enters further. By the end of this step, your dog should be pushing their nose fully into the muzzle to reach a treat at the back.
Between each repetition, remove the muzzle from your dog’s field of view briefly, then represent it. You are building a clear pattern: muzzle appears → nose goes in → reward.
If your dog ducks away at any point, you have moved too fast. Return to placing treats just inside the opening and slow the progression.
Step 3: Duration — Keeping the Nose In
Timeline: 3–5 days
Until this step, your dog has been dipping in and out of the muzzle quickly. Step 3 builds the habit of staying in — first for one second, then progressively longer. No strap is involved yet.
Using Sticky Treats for Extended Time
Smear a small amount of peanut butter or squeeze cheese on the inside back wall of the muzzle. Present the muzzle; your dog will push their nose in and begin licking. While they are licking, the nose naturally stays in the muzzle. This is how you create duration without any forced holding.
Start with just 1–2 seconds of nose-in time. As the session progresses, use a slightly thinner application of the sticky treat so they spend a few extra seconds working for it.
Building From 1 Second to 30 Seconds
Each session, aim to extend by just 1–2 seconds at a time. By day 3 or 4, most dogs are comfortable keeping their nose in the muzzle for 15–20 seconds. The milestone for completing this step is a relaxed 30 seconds of nose-in contact with no signs of stress — no backing away, no pawing, no whale eye.
Signs your dog is comfortable: relaxed body posture, active licking, tail in a neutral or upward position. Signs to slow down: ears pinned back, stillness without engagement (freezing), or repeatedly pulling out of the muzzle before the treat is finished.
Step 4: Strap — Securing the Muzzle
Timeline: 3–5 days
This step introduces the neck strap — the element that most dogs find the most startling. Your dog’s head is suddenly enclosed, and they hear and feel a buckle near their ears. Introduce this element slowly with very short durations.
Desensitizing Neck Touch
Before buckling anything, practice touching the sides of your dog’s neck while they eat treats from your hand. This alone is a separate desensitization exercise if your dog is sensitive around the head. Once they accept neck touch without flinching, you are ready.
Buckling and Unbuckling Practice
With your dog’s nose in the muzzle (using the sticky treat approach from Step 3), reach back and clip the strap — then immediately unclip it and remove the muzzle. Mark and reward the moment the buckle closes. This first buckled moment should last no more than 1–2 seconds.
Over multiple sessions, extend the buckled duration gradually: 2 seconds, then 5, then 10, then 30. By the end of this step, your dog should be accepting 60–90 seconds of buckled wearing with a sticky treat providing continuous engagement.
Some dogs do well with an additional strategy: after buckling, immediately offer a high-value treat through the front of the basket. The treat delivery signals that wearing is actively rewarding, not just tolerated.
Step 5: Real-World Application
Timeline: Ongoing
Once your dog wears the muzzle calmly for 2–3 minutes in a quiet room, begin generalization — introducing the muzzle in other contexts and for gradually longer durations.
Walking With the Muzzle On
Start with a short walk in a low-stimulation environment (your own yard, a quiet hallway). The dog wears the muzzle for 5 minutes, receives occasional treats through the basket, and the muzzle comes off while the walk is still enjoyable. Increase duration each session.
For dogs with socialization gaps or who are building confidence around new environments, keep these early real-world sessions very short and very positive. The muzzle should never become associated with situations that were already stressful.
Using at the Vet and Groomer
Before the first actual vet visit with the muzzle, practice at home with simulated handling: gently touch the ears, lift the paws, press along the sides. All handling occurs while the muzzle is on and treats are flowing through the basket. This builds a specific association between handling-while-muzzled and good things.
Inform the clinic in advance that your dog is muzzle trained. Many veterinary staff will adapt their approach knowing the dog is already conditioned — rather than placing their own muzzle abruptly, they will allow you to fit yours first. This small shift can significantly reduce your dog’s overall stress at appointments.
Troubleshooting Common Resistance Behaviors
Even with careful training, some dogs push back at certain steps. The rule in all cases is the same: go back one step, reduce difficulty, and rebuild. Never push through visible stress.
Pawing at the Muzzle
Pawing is the most common response when a dog is uncomfortable. It usually means one of three things: the wearing duration is too long, the fit is too tight, or the training moved too fast. First, check the fit — the nose should not be pressing against the front of the basket during panting. Then reduce wearing time to just a few seconds and rebuild duration more gradually.
If pawing continues even with very brief wearing, try adding a target behavior: ask your dog for a “sit” or a hand touch immediately after fitting the muzzle. Redirecting to a known behavior can interrupt the pawing pattern and help the dog re-engage.
Running Away When the Muzzle Appears
If your dog begins leaving the room or moving away when the muzzle comes out, their current association with it is negative. Return immediately to Step 1 (muzzle on the floor, approach entirely voluntary). This is not a setback — it is information that the previous steps moved faster than the dog’s emotional learning could keep pace with.
Some dogs benefit from a brief “muzzle holiday” of 2–3 days where the muzzle is simply present in the environment without any training, giving the association a chance to reset toward neutral.
Freezing or Shutting Down
Freezing — where the dog goes very still, stops eating, and stares blankly — is a stress signal, not calm acceptance. A dog freezing in a muzzle is not “fine.” They have exceeded their threshold and are in a state of learned helplessness.
If you see freezing, remove the muzzle immediately and end the session. On the next session, return to a step three or four levels earlier than where freezing occurred. Increase treat value (switch to something even higher reward), shorten session length to 1–2 minutes, and accept much smaller approximations toward progress. Some dogs with a history of aversive handling may benefit from working with a certified professional dog trainer (CPDT-KA) or veterinary behaviorist to work through the underlying anxiety before muzzle training can proceed effectively.
References
FAQ
How long does muzzle training take?
Can puppies be muzzle trained?
Can my dog drink water with a muzzle on?
Is muzzle training cruel?
What if my dog paws at the muzzle continuously?
Related Articles
Bringing Home a New Puppy? The Complete Socialization Training Guide You Need
Learn the science behind puppy socialization windows, get a week-by-week timeline, and discover safe pre-vaccination methods with a practical category-based checklist.
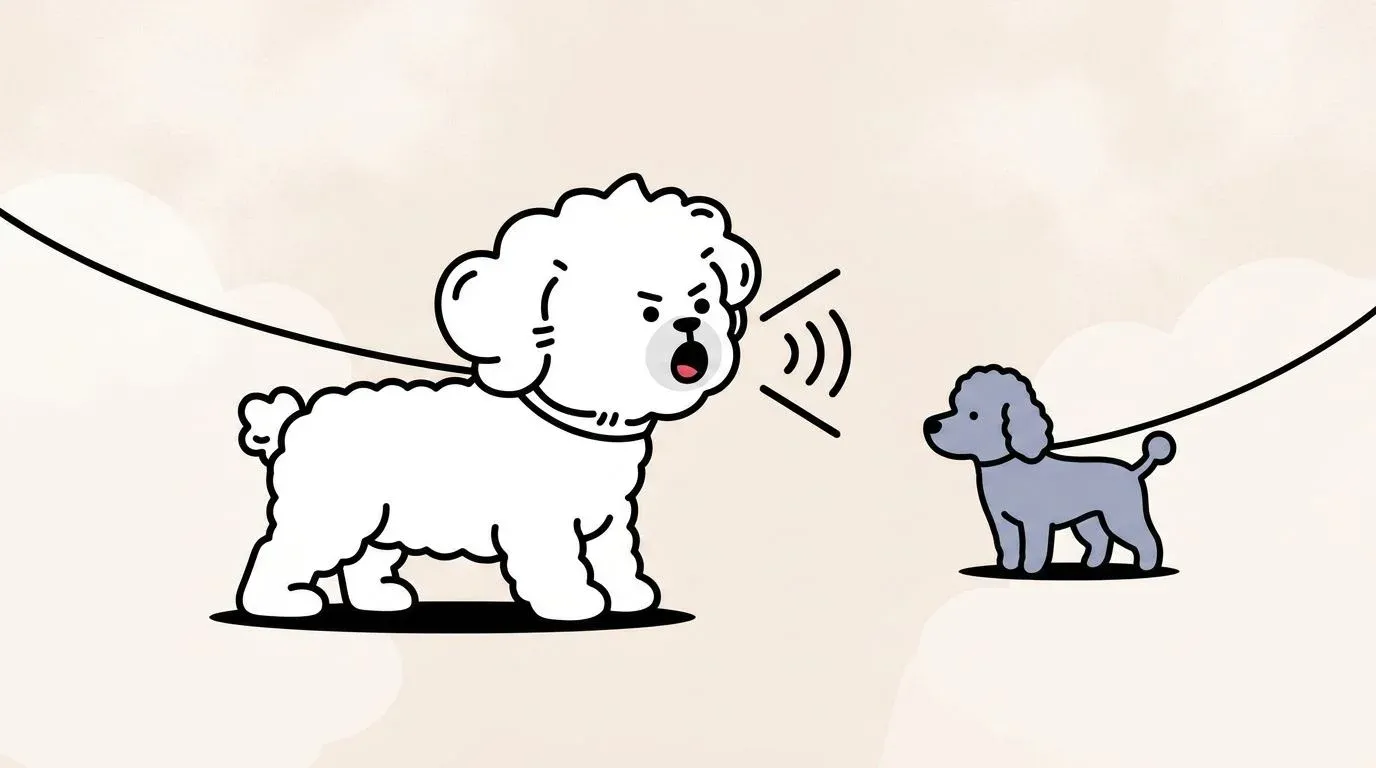
Dog Leash Reactivity Training: Step-by-Step Protocol
Master dog leash reactivity training with a proven 5-step desensitization protocol. Stop your dog from barking and lunging at other dogs on walks.
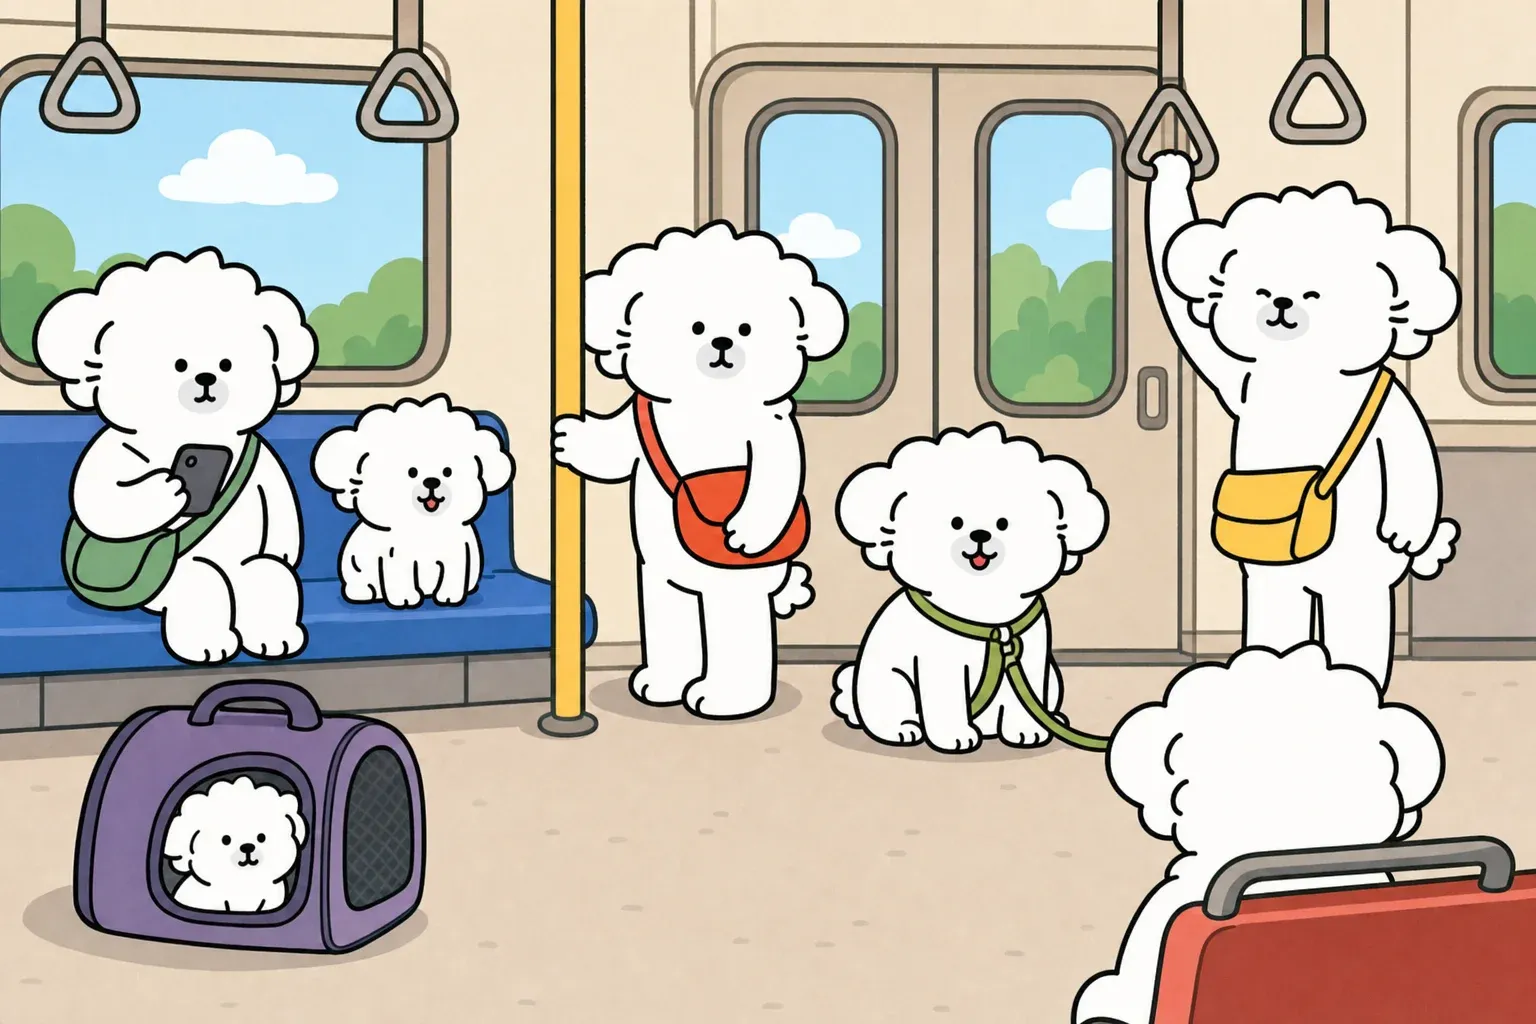
Dog Public Transportation Rules: Carriers & Boarding Tips
Dog public transportation rules for buses, subways, and trains. Carrier size requirements, boarding prep, etiquette, and joint health tips in one guide.