How to Prepare for Dog Adoption: A Step-by-Step Guide for First-Time Owners
Bringing a dog home for the first time is one of those genuinely life-changing decisions — and also one where the gap between expectation and reality can be wide. Most online checklists skip straight to shopping lists. This guide covers what comes before that: whether you’re actually ready, how to set up your home for a dog’s safety, what the first 24 hours look like hour by hour, and what the adjustment period really involves.
Whether you’re adopting from a shelter, a rescue organization, or a responsible breeder, the core preparation steps are the same.
Are You Ready to Adopt? A Realistic Self-Check
Before purchasing a single item, be honest about three areas: space, schedule, and budget.
Living Space, Schedule, and Budget Reality Check
Space matters less than people think, but it still matters. A small apartment can work perfectly for a Cavalier King Charles Spaniel or a Greyhound (yes, they’re surprisingly couch-friendly). It’s a poor fit for an untrained, high-energy Border Collie. The real question is whether your space allows for safe containment, basic exercise, and a quiet retreat the dog can call their own.
Schedule is where most first-time owners underestimate the commitment. Adult dogs typically need to go outside every 4–6 hours. Puppies under 16 weeks need a bathroom break every 1–2 hours. If you work 10-hour days without a dog walker or daycare, a puppy is a setup for housetraining failure and separation-related stress.
Budget estimates vary widely, but the ASPCA puts the first-year cost of dog ownership between $1,000 and $4,000 depending on size and health needs. That includes food, routine vet care, vaccinations, supplies, and unexpected expenses. Emergency vet care — something every dog owner faces eventually — can easily cost $1,000–$5,000.
A practical pre-adoption exercise: track your current schedule for one week and identify every block of time you’d need to redirect toward dog care. If the math doesn’t work without significant lifestyle changes, that’s worth addressing before adoption, not after.
Choosing Where to Adopt: Shelter, Rescue, or Breeder
In the United States alone, approximately 3.1 million dogs enter shelters each year according to ASPCA estimates. Around 2 million are adopted. Shelter dogs range from puppies to seniors, purebreds to mixes, and many arrive with basic temperament assessments on file.
Shelter adoption is often the fastest route and costs between $50 and $200, typically including spay/neuter, microchip, and initial vaccinations. Shelters usually have staff or volunteers who can tell you how a dog behaves with other dogs, cats, and children.
Rescue organizations are breed-specific or type-specific nonprofits that pull dogs from shelters or owner surrenders and place them in foster homes. Foster families can provide more detailed behavioral information because the dog has been living in a home environment, often for weeks or months.
Responsible breeders — meaning those who health-test parent dogs, raise puppies in a socialized environment, and screen buyers — are the right choice if breed-specific traits matter to you. Cost is significantly higher ($800–$3,000+), but reputable breeders typically offer ongoing support and take dogs back if the placement doesn’t work.
Whatever route you choose, ask for as much history as possible: temperament notes, how the dog reacts to strangers, leash behavior, and any known anxieties.
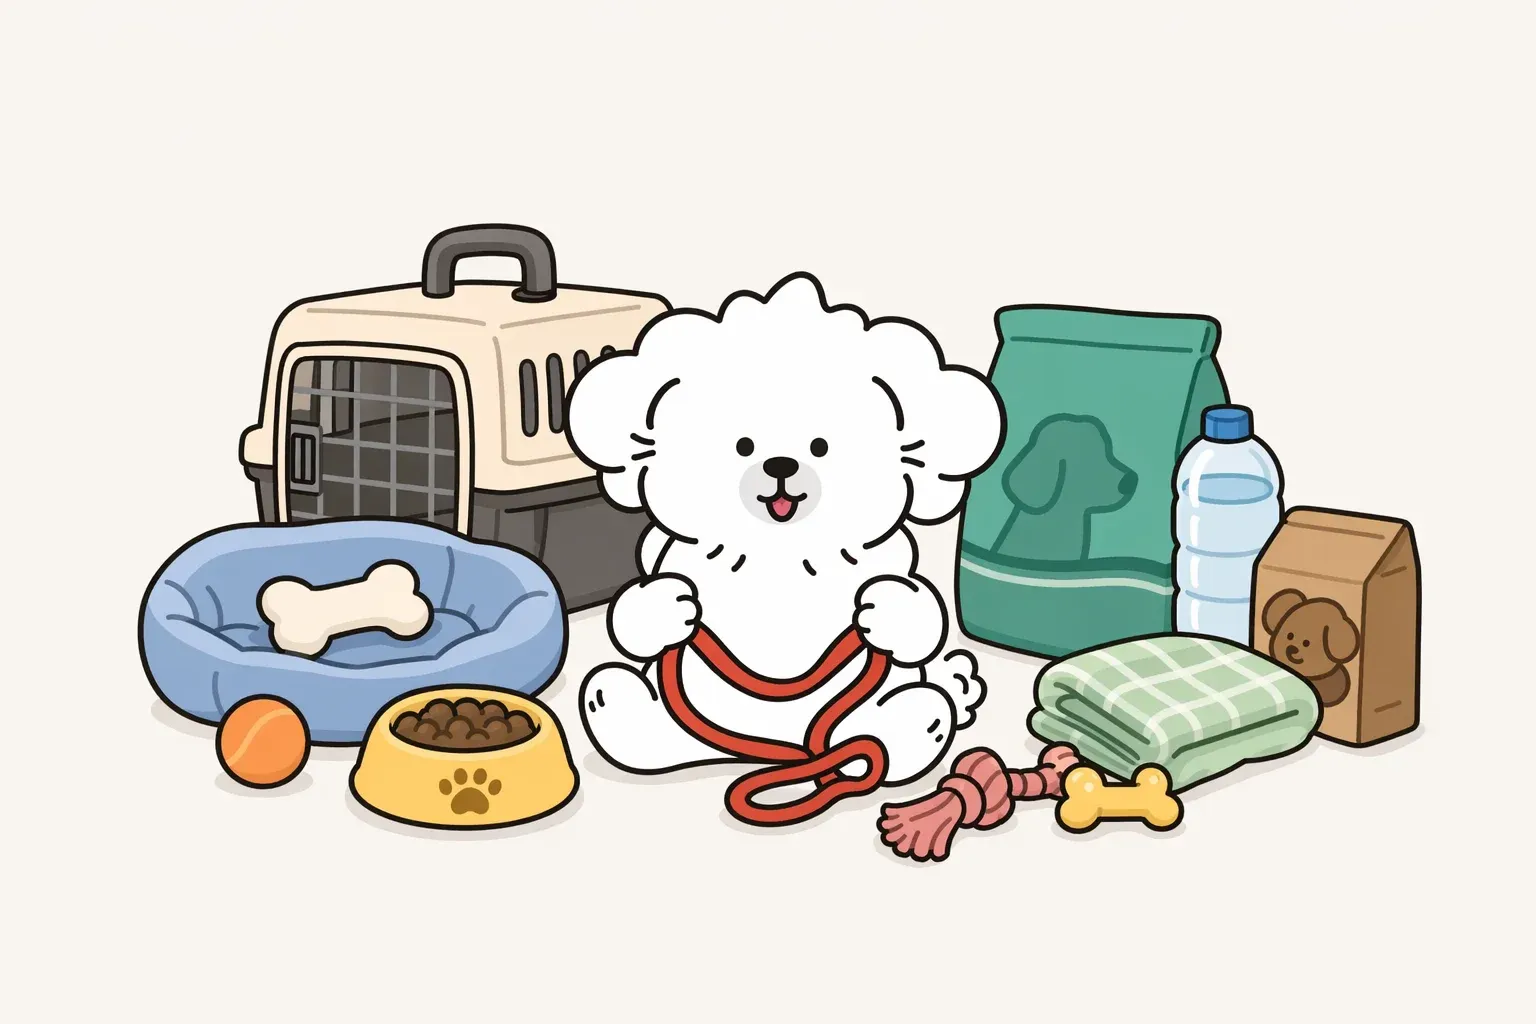
Essential Supplies Checklist Before Adoption Day
You don’t need to buy everything at once. Focus on what’s needed in the first 48 hours and add based on observation.
Feeding Essentials: Food, Bowls, and Treats
Food: Ask the shelter or breeder what the dog is currently eating. Buy at least a small supply of that food to use during the first week. If you plan to switch brands, transition gradually over 7–10 days — sudden food changes are a common cause of diarrhea in new dogs.
Bowls: Stainless steel or ceramic bowls are easier to clean thoroughly than plastic. Dogs with deep chests and heavy jowls may benefit from slower-feed bowls to reduce bloat risk.
Treats: High-value, soft treats (small in size) are useful for the initial adjustment period and the beginning of training. Avoid large or rich treats in the first week when the dog’s digestion is already under stress.
One reference point for daily feeding amounts by weight and age: the dog feeding amount guide covers this in detail, since overfeeding is one of the most common first-week errors.
Living Essentials: Crate, Bed, and Potty Pads
Crate: A crate is not a punishment — it’s a den. Dogs that are properly introduced to a crate develop a secure place to retreat when stressed or tired. Buy a crate sized so the dog can stand up, turn around, and lie down comfortably. Too large, and a puppy will use the far corner as a bathroom.
Crate setup and a step-by-step introduction process are a key element of structured early training.
Bed: A washable, low-profile bed works for most dogs. Some dogs prefer flat beds; others like bolstered edges for something to lean against. You won’t know your dog’s preference until you observe them.
Potty pads: Useful for puppies still building bladder control, or for dogs that will be left alone for longer stretches. Avoid using them as a permanent solution if your goal is outdoor housetraining — dogs learn patterns, and consistent outdoor access from day one is more effective.
Safety Essentials: Gates, Non-Slip Mats, and Cord Covers
Baby gates let you limit the dog’s access to certain areas during the adjustment period without full confinement. Most dogs benefit from starting with one or two rooms rather than full access to the house.
Non-slip mats and rugs belong on every smooth surface the dog will walk on — hardwood, tile, laminate. This is particularly important for puppies, whose musculoskeletal systems are still developing. Slipping and sudden falls on hard floors place abnormal stress on hip and knee joints during a period when growth plates are vulnerable.
Cord covers or cord management sleeves should go on any accessible power cords. Dogs explore with their mouths, and an electrical cord is a legitimate safety hazard.
Dog-Proofing Your Home: Creating a Safe Space
Dog-proofing is not about removing everything interesting — it’s about removing what’s dangerous and creating a contained, navigable space for the first few weeks.
Setting Up a Designated Dog Area
Start small. Pick one room or a sectioned-off area of the house as the dog’s initial territory. This serves two purposes: it limits the amount of space you need to proof immediately, and it gives the dog a defined “safe zone” to return to when overwhelmed.
The area should include:
- The crate (door open, available as a retreat)
- A water bowl with fresh water
- A few toys
- Easy access to an outdoor exit for bathroom trips
Once the dog demonstrates comfort and reliable housetraining in that zone, gradually expand access room by room over the following weeks.
Removing Hazards: Toxic Plants, Small Objects, Chemicals
The ASPCA Animal Poison Control Center receives over 300,000 calls per year. Common household hazards include:
- Plants: Lily of the valley, sago palm, oleander, tulip bulbs, and azaleas are highly toxic. The ASPCA maintains an updated toxic plant database on their website.
- Foods: Grapes, raisins, xylitol (found in sugar-free gum and some peanut butters), onions, garlic, macadamia nuts, and chocolate are dangerous at various doses. The dog toxic foods guide provides a comprehensive list with dose thresholds.
- Household chemicals: Cleaning products, antifreeze, and some rodenticides. Store them in latched cabinets or elevated locations.
- Small objects: Coins, children’s toys, rubber bands, hair ties, and anything that can be swallowed and cause an intestinal obstruction.
Why Slippery Floors Matter for Growing Joints
This section is mentioned briefly above but deserves its own explanation. In puppies, the growth plates — cartilaginous regions at the ends of long bones — remain soft and vulnerable until 12–18 months of age depending on breed size. Repeated slipping on hardwood or tile forces the hips and knees to compensate in ways that can load the joints unevenly during this critical window.
The fix is straightforward: non-slip rugs, yoga mats, or interlocking foam tiles in areas where the puppy frequently walks, plays, and transitions from resting to movement. This is not overprotective — it’s a low-cost structural change that reduces unnecessary mechanical stress on joints that are still forming.
For senior or larger dogs, slip prevention is equally important: falls are a leading cause of acute joint injury in older dogs.
Adoption Day: Hour-by-Hour Guide
The day you bring the dog home is not a celebration day for the dog. It’s a disorientation day. Keep this frame in mind for every decision you make.
Arrival: Let Them Explore at Their Own Pace
When you arrive home, put the dog on a leash and walk them around the perimeter of the yard or building first. Let them sniff, mark, and take in the smells before entering the house. This short “orientation walk” gives the dog environmental context before they enter a new interior space.
Inside, resist the urge to follow the dog around, call family members over to meet them, or introduce other pets on day one. Open the door to their designated area and let them explore on their own terms. Sit quietly nearby. Let them come to you.
If you have children, brief them in advance: no chasing, no grabbing, no loud voices. Children naturally want to engage — explain that the dog needs time to feel safe before it can play.
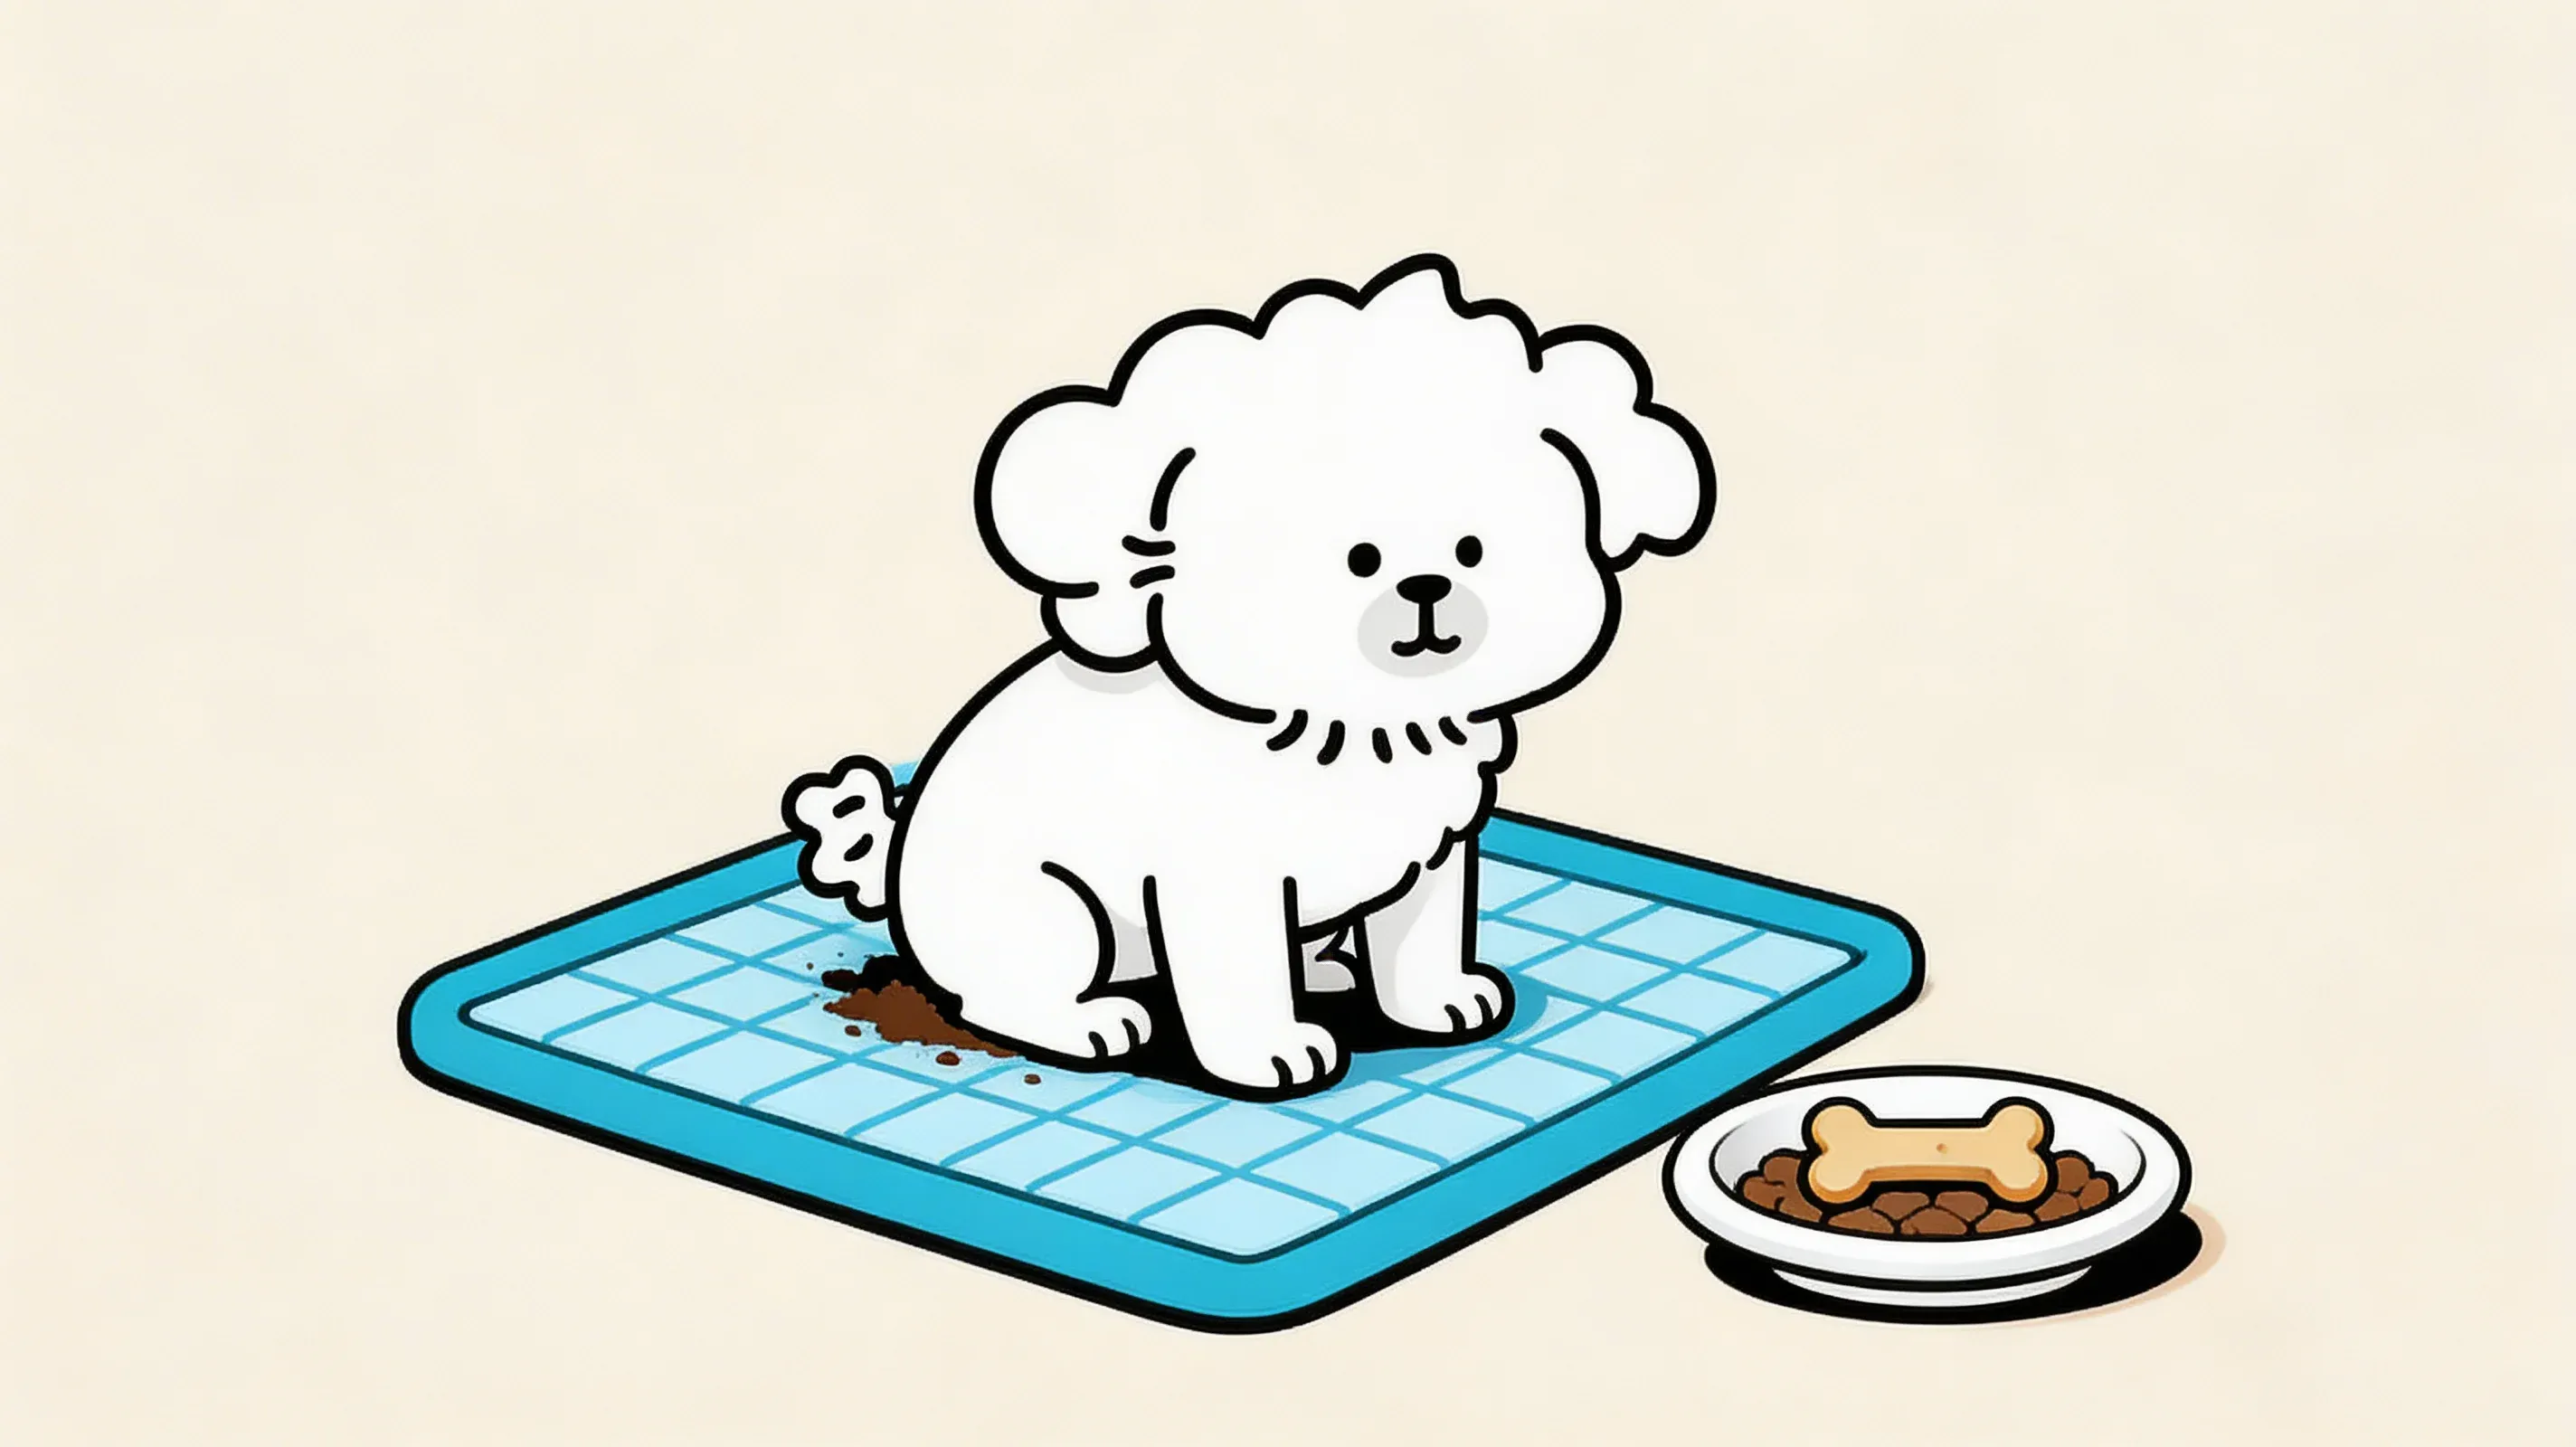
First Meal and Potty Introduction
Offer a small meal — roughly half the normal portion — within 1–2 hours of arriving home. A full meal immediately can cause vomiting in a stressed dog. Use the same food the shelter or breeder provided.
After eating, take the dog directly outside to the spot you want them to use as their permanent bathroom area. Stand quietly. When they go, mark the moment with a calm “good dog” and a small treat. Don’t make it a party — excitement can distract from the task. Return inside without lingering.
Repeat this sequence every 1–2 hours for puppies, every 3–4 hours for adult dogs, for the first several days.
Surviving the First Night: Handling Whining and Anxiety
The first night is hard. Many dogs whine in the crate, or pace if given full freedom. This is normal — they’re in an unfamiliar space without familiar smells or social group.
Two practical strategies:
Strategy 1 – Crate near the bed. Placing the crate in the bedroom (or at least in auditory range) during the first few nights gives the dog the sensory presence of another body. Reach down and put your fingers near the crate if they whine — that’s often enough.
Strategy 2 – Comfort item. Ask the shelter if they can send a blanket or towel that smells like the dog’s previous kennel or foster home. A familiar scent can significantly reduce first-night distress.
Do not take the dog into your bed on night one if that’s not your long-term plan. Whatever you allow in the first few nights establishes precedent.
The 3-3-3 Rule: Your First Week Adjustment Roadmap
The 3-3-3 rule is a widely used framework in shelter and rescue communities — and for good reason. It reflects how dogs actually process environmental change, not how we wish they would.
Days 1–3: Decompression and Observation
In the first 72 hours, most dogs are in sensory overload. Behaviors you see in this window — extreme shyness, hiding, refusal to eat, excessive sleeping — are not necessarily permanent personality traits. They’re stress responses.
Your job during this phase:
- Keep the environment quiet and predictable
- No visitors, no new dogs, no trips to the pet store
- Maintain a consistent bathroom schedule
- Observe without intervening in every moment
Some dogs seem perfectly confident from hour one. Some shut down for two full days before eating. Both are within normal range. The outlier to watch for is a dog that shows immediately aggressive responses — resource guarding, snapping at handling — which warrants a conversation with a certified behaviorist before you’re too far in.
Days 4–7: Building Routines and Basic Training
By day four, most dogs have started reading your schedule. They know roughly when bathroom trips happen, when meals arrive, and when you leave.
This is when to introduce simple structure:
- Sit before meals (simple impulse control that also builds communication)
- Name recognition exercises (say the name, treat when they look at you)
- Beginning housetraining consistency — a structured potty training plan handles the indoor-to-outdoor transition
Keep sessions short: 3–5 minutes, two to three times a day. The goal is building vocabulary and trust, not drilling commands.
Weeks 2–4: Socialization and First Walks
By week two, the dog has likely settled enough to begin controlled exposure to the outside world. This is where socialization — exposing the dog to a wide variety of sights, sounds, people, and animals in a positive way — becomes important.
For puppies, the socialization window closes around 12–16 weeks. Exposures during this period shape the dog’s lifelong response to novelty. The dog socialization training guide explains this window in detail and offers a structured exposure checklist.
For adult shelter dogs, socialization looks different: it’s about learning that new experiences are safe, not about establishing baseline associations from scratch. Short, calm walks in quiet environments work better than busy dog parks in the first month.
Keep early walks low-stimulation: empty streets, quiet parks, early mornings or evenings when foot traffic is low. Watch the dog’s body language — tight body, tail tucked, ears back — and reduce intensity if they’re showing stress signals.
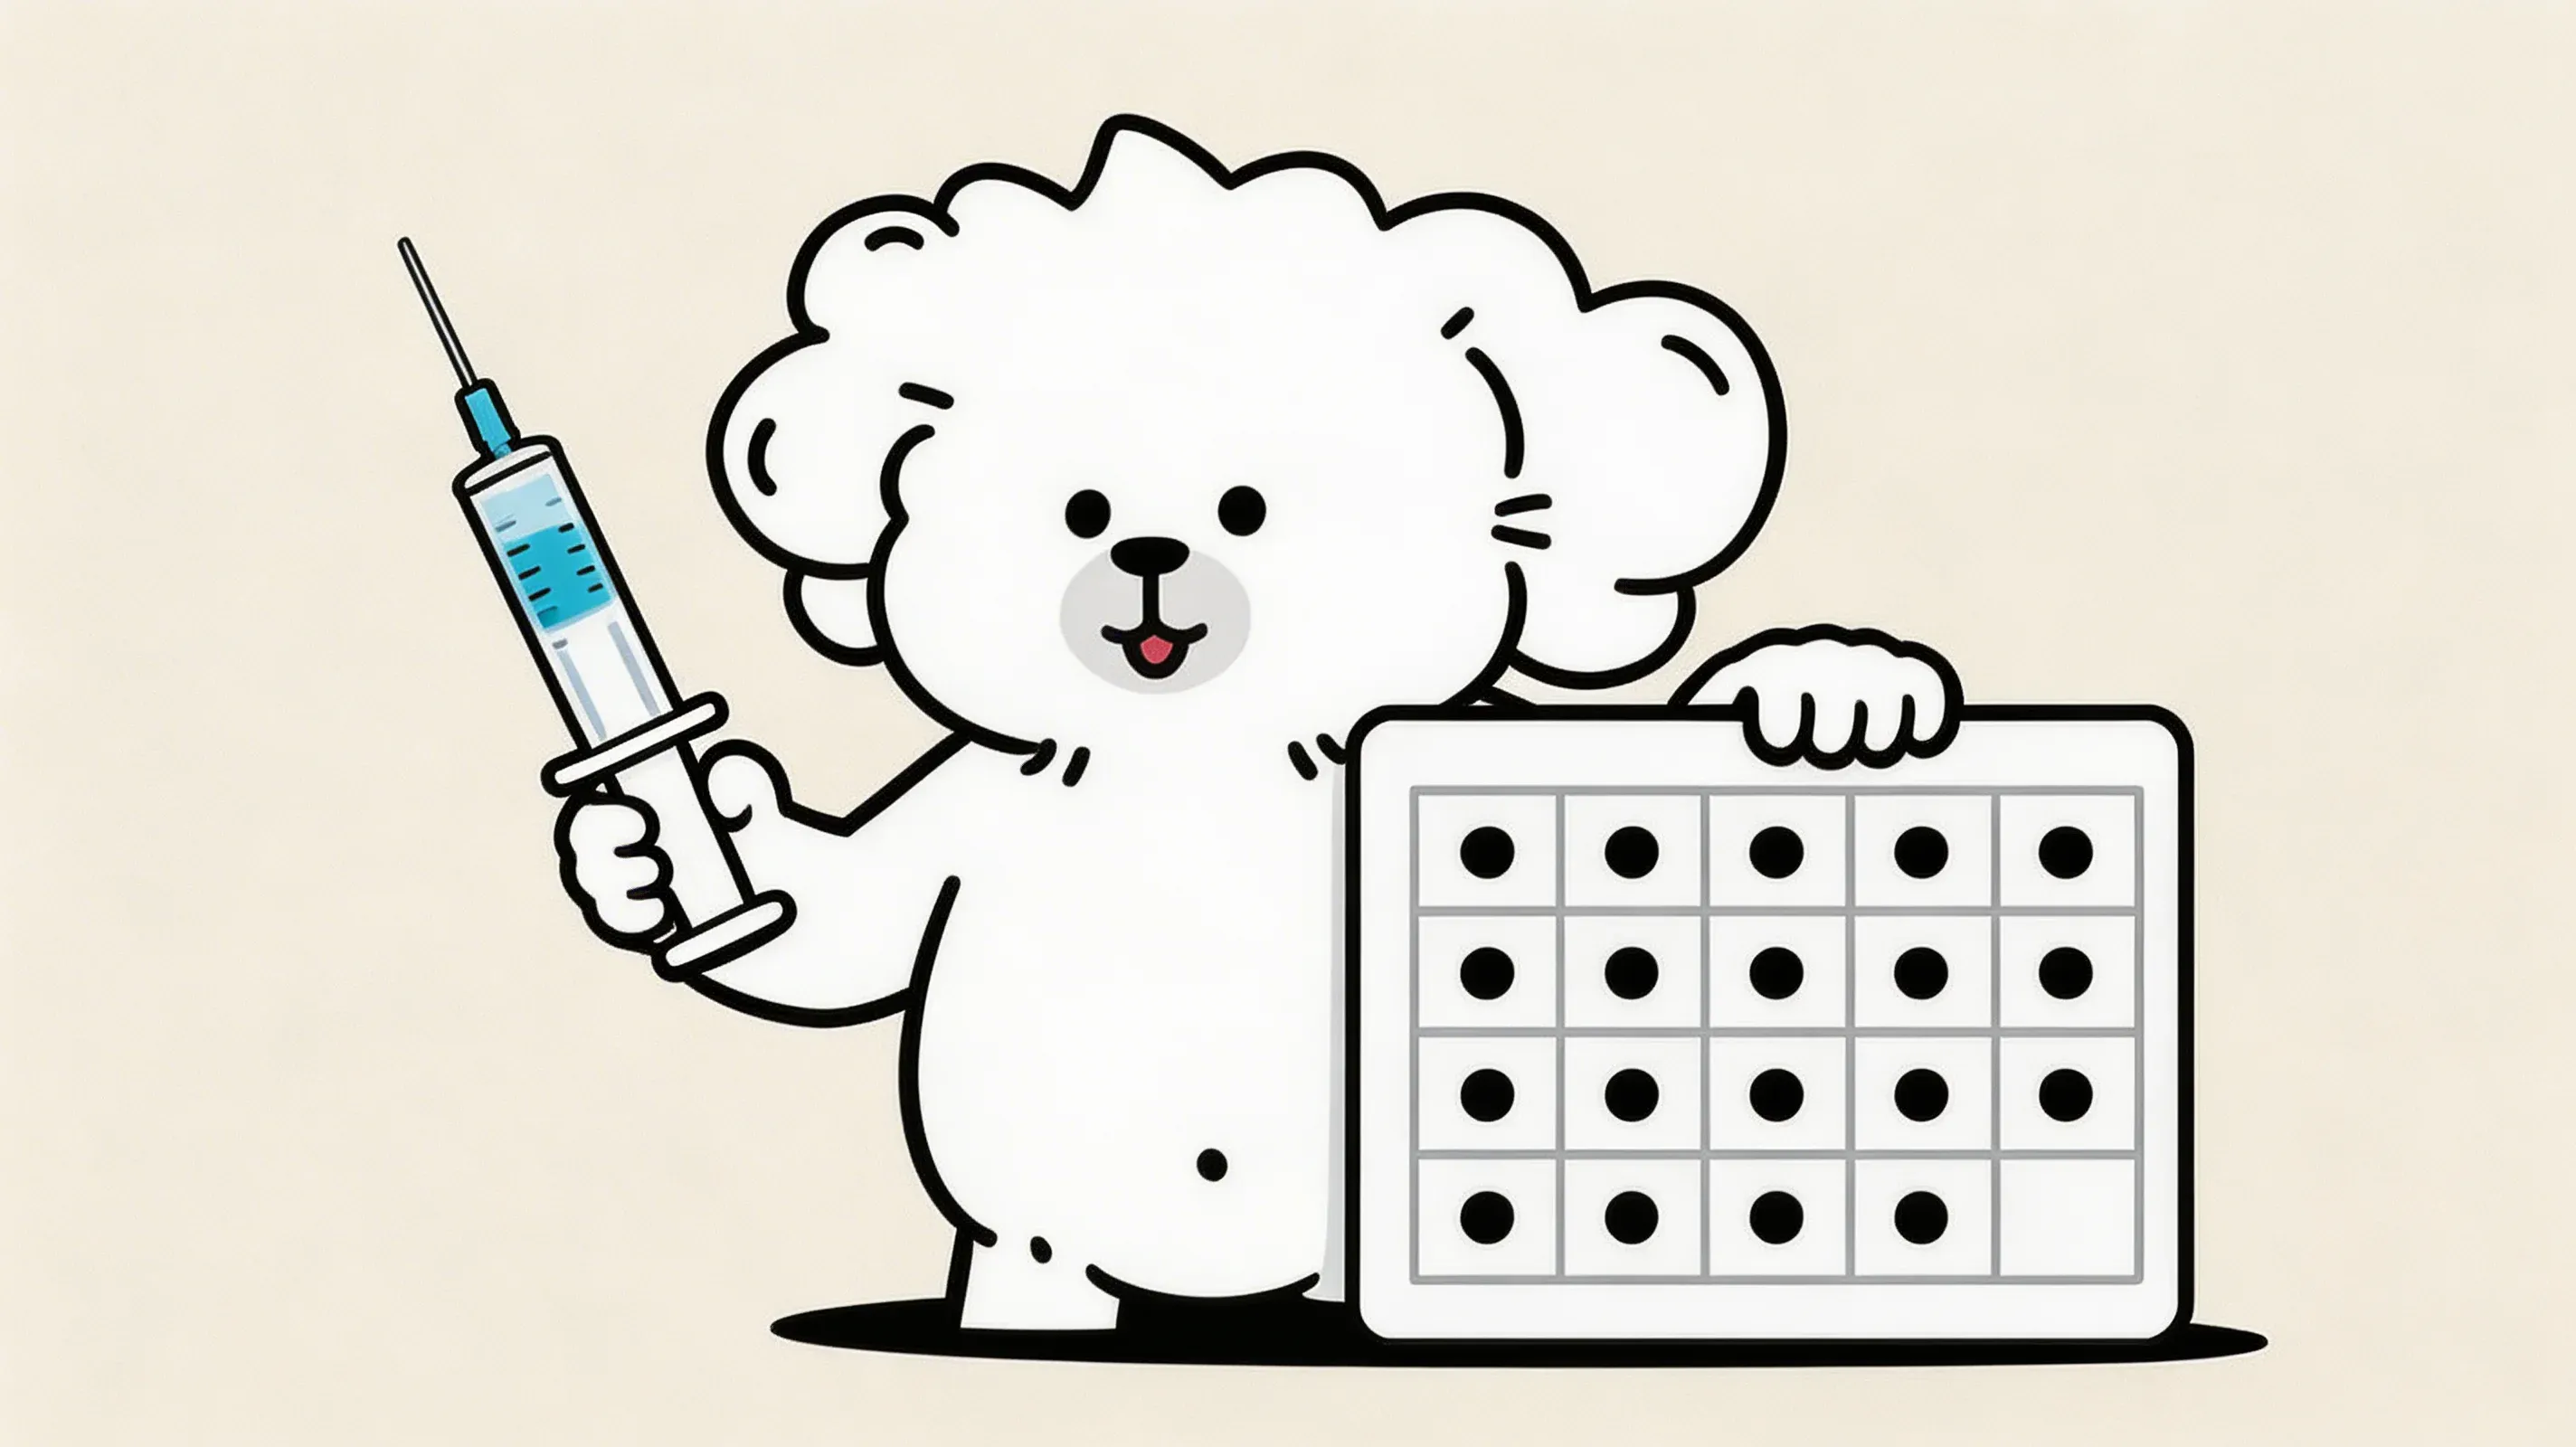
Health Setup: Vet Visits and Vaccinations
The first vet appointment should happen within the first week of bringing the dog home, regardless of vaccination records from the shelter.
Scheduling the First Vet Appointment
Call ahead and mention that this is a new adoption — many clinics schedule slightly longer appointments for new patients. Bring:
- Any medical records from the shelter or breeder
- Vaccination history
- Deworming records
- A fresh stool sample if possible (for parasite screening)
The vet will do a baseline physical, check for issues not caught by the shelter (heart murmurs, skin conditions, early orthopedic abnormalities), and discuss the vaccination plan going forward.
Understanding the Vaccination Schedule
Core vaccines for dogs — distemper, parvovirus, adenovirus (often combined in the DA2PP vaccine), and rabies — follow a specific schedule based on age. Puppies require a series of boosters every 3–4 weeks until 16 weeks of age because maternal antibodies interfere with vaccine response earlier in life.
According to AVMA guidelines, the standard puppy core vaccination schedule begins at 6–8 weeks and continues through 14–16 weeks. Adult dogs adopted from shelters typically receive a vaccination record at adoption; your vet will advise on what boosters are needed and when.
For a complete breakdown of what’s given when and why, the dog vaccination schedule guide covers the full timeline with breed-size considerations.
Why Early Joint Protection Matters for Puppies
The first few months at home coincide with the most sensitive phase of skeletal development for puppies. Growth plates — the cartilaginous zones at the ends of long bones — are softer and more vulnerable to injury than mature bone until closure, which occurs between 12 and 24 months depending on breed size.
Large breeds (Labs, Golden Retrievers, German Shepherds) close their growth plates later than small breeds, and are correspondingly more vulnerable for longer. Practices that protect joints during this window:
- Non-slip flooring on all hard surfaces
- Avoiding repetitive jumping on and off furniture
- Keeping stair access limited during early puppyhood
- Not running on pavement for extended distances before 12 months
Puppy growth plate joint care involves developmental biology that determines when various activities become lower-risk by size.
Common First-Time Owner Mistakes to Avoid
Most early mistakes come from the same source: enthusiasm. The impulse to make a dog feel loved immediately can accidentally create the conditions for stress, behavior problems, and setbacks.
Overwhelming Your Dog with Affection
A dog that hides under the bed on day one is not being ungrateful — it’s doing what evolution built it to do in an unfamiliar, potentially threatening environment. Following it under the bed, encouraging it out with treats, or lifting it out and holding it are all counterproductive. They confirm to the dog that this environment is unpredictable.
The correct response is to sit in the room, be calm, and wait. Dogs approach when they’re ready. Letting that happen on their timeline builds more trust in two hours than forced interaction does in two weeks.
Signs of an overstimulated dog: panting without exertion, whites of the eyes showing (whale eye), excessive lip licking, yawning in context, tail tucked. When you see these, reduce intensity — distance, noise, handling.
Bathing or Walking Too Soon
Bathing a dog on day one or two, even if they smell, puts them through a stress event before any trust is established. Wait at least 2–3 weeks — ideally until the dog is visibly comfortable in the home — before the first bath. A gentle puppy first bath approach avoids creating a lasting aversion to water.
Extended walks outside the immediate neighborhood should wait until vaccinations are complete for puppies (around 16 weeks), or until an adult shelter dog has stabilized behaviorally — typically 1–2 weeks in. Rushing this often results in a dog that is so overwhelmed on walks it refuses to move, or returns home so overstimulated it cannot settle.
Switching Food Abruptly
Shelters and rescues almost universally recommend continuing the current food for at least 7–10 days. This is not because shelter food is nutritionally ideal — it often isn’t — but because abrupt food transitions cause gastrointestinal upset in dogs already under stress. A dog with loose stools in the first week makes housetraining significantly harder.
If you’re concerned about long-term nutrition, plan a gradual transition starting in week two: mix 25% new food with 75% old food for three days, then 50/50 for three days, then 75% new food for three more days before switching fully.
Another common error is not accounting for separation anxiety risk in the early weeks. Dogs that are left alone for long stretches too soon before they’ve bonded and felt secure are more likely to develop separation-related distress — vocalization, destructive behavior, house soiling. Start with short departures (5–10 minutes) in the first week and build gradually.
If you already have a resident dog at home, the preparation process looks different. Introducing a second dog requires a structured protocol — scent exchange before any visual contact, the first meeting on neutral ground, and a gradual home integration phase.
Preparation is not about having the perfect setup. It’s about understanding what the dog actually needs in the first hours, days, and weeks — which is mostly patience, consistency, and a quiet place to decompress. The supplies matter; the mindset matters more.
References
FAQ
How long does it take for a dog to adjust after adoption?
Can I bathe my dog on the first day home?
When can I start walking my newly adopted dog outside?
What should I feed my new dog in the first week?
How many supplies do I actually need before adoption day?
Related Articles

How to Crate Train Your Dog: A Step-by-Step Guide from First Introduction to Calm Alone Time
Learn how to crate train a dog with a 5-step protocol, age-based time limits, and troubleshooting for crying, crate aversion, and accidents.
How to Potty Train a Puppy: The Complete Guide for First-Time Dog Owners
Learn how to potty train a puppy with crate training, bell training, nighttime protocols, regression fixes, and tips for apartment living and rescue dogs.
Puppy Vaccination Schedule: Shots, Costs & Side Effects
Complete puppy vaccination schedule by age, 2026 US cost ranges, side effect warning signs, missed dose protocol, and titer testing explained.