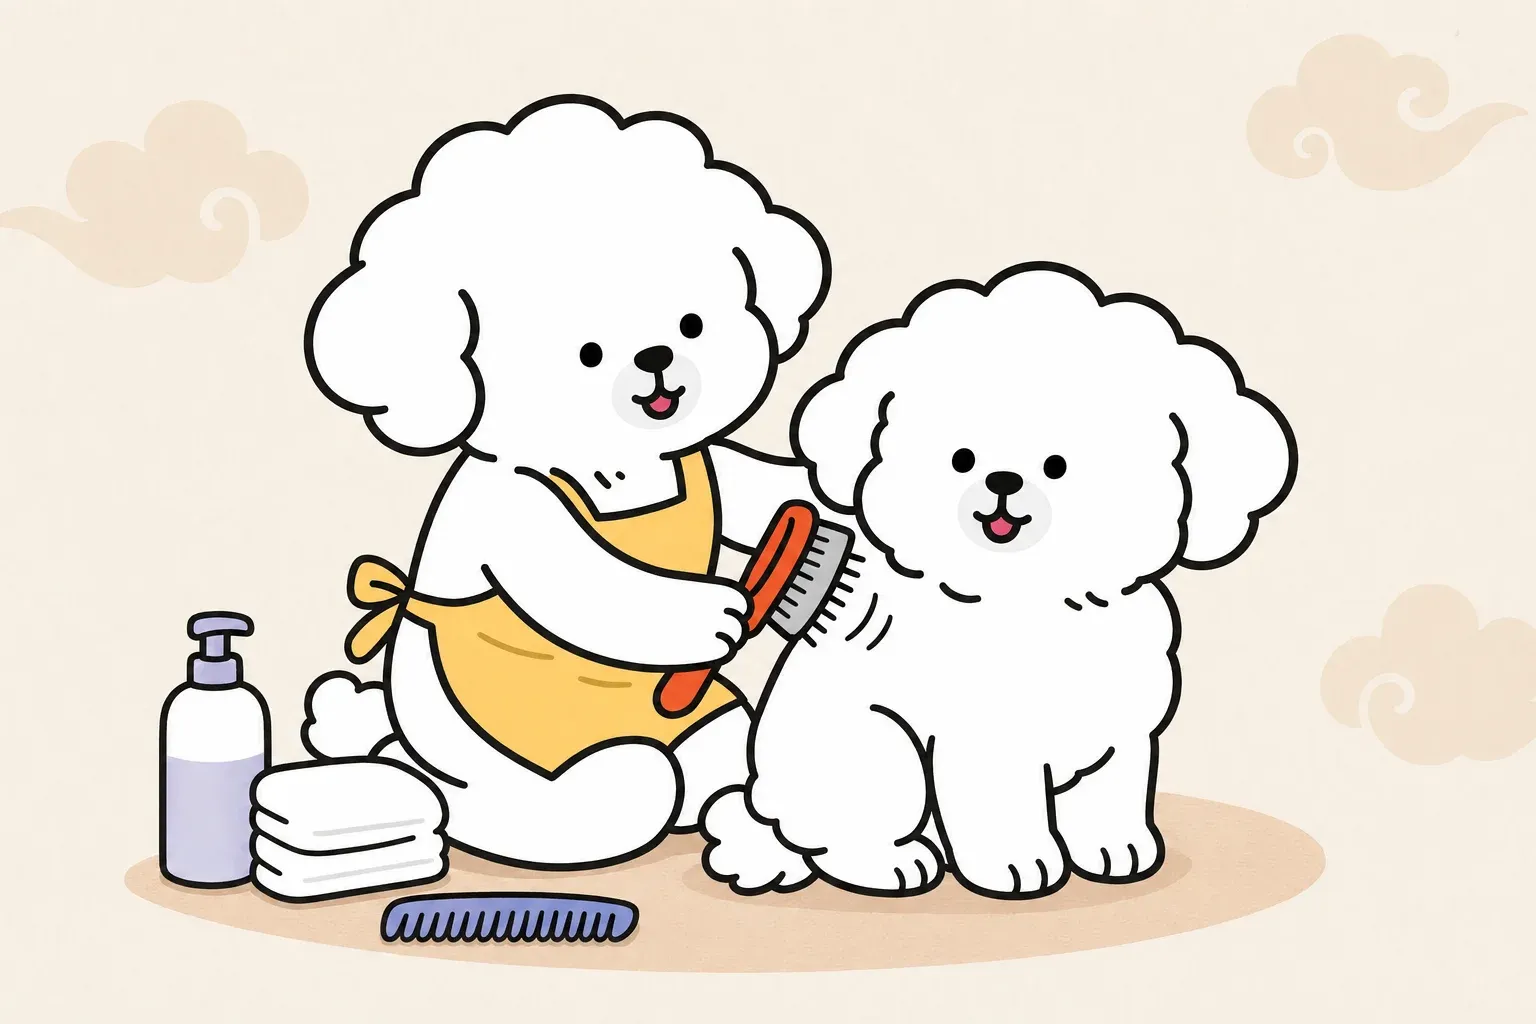
5 Minutes of Daily Brushing That Transforms Your Dog's Coat: The Complete Brushing Guide
Most dogs tolerate brushing just fine — until they don’t. And when problems appear, they tend to show up all at once: a mat behind the ear that’s been growing for weeks, a dog who flinches the moment the brush comes out, or a coat that’s dull and dense despite regular baths.
This guide covers the complete picture of how to brush a dog correctly. You’ll learn which brush to use for your dog’s specific coat type, how to use the line brushing technique that professional groomers rely on, how often each coat type actually needs attention, and what to do when your dog has decided brushing is non-negotiable.
Why Regular Brushing Matters More Than You Think
It’s easy to view brushing as a cosmetic task — something you do when your dog looks shaggy. But regular brushing is one of the most practical health habits you can build into your dog’s routine.
Dead Hair Removal and Mat Prevention
Every dog sheds. For some breeds, loose hair exits the coat naturally through everyday movement. For others — particularly double-coated breeds like Huskies, Golden Retrievers, and Corgis — the shed undercoat gets trapped within the topcoat. Without regular brushing, that trapped hair compresses and knots around live hair, forming mats.
Mats are more than cosmetic problems. A tight mat pulls continuously on the skin even when your dog is just lying still. As the mat grows, it traps moisture and debris close to the skin, creating conditions where bacterial and fungal infections can develop. According to veterinary dermatologists, chronic matting can also restrict normal air circulation to the skin, contributing to irritation and secondary skin disease.
Regular brushing removes loose hair before it has a chance to compress. Daily sessions for high-shedding or long-coated breeds dramatically reduce the mat burden — and the time spent on each session.
Skin Health: Circulation and Oil Distribution
Brushing does more than remove hair. The mechanical action of a brush moving through the coat stimulates circulation in the skin and distributes sebum, the natural oil produced by skin follicles. Well-distributed sebum gives the coat a healthy sheen and acts as a mild protective barrier for the skin beneath.
This is why a dog brushed regularly tends to have a noticeably different coat quality than one who isn’t — not just cleaner, but with better texture and luster.
Early Detection of Lumps, Parasites, and Skin Issues
Brushing sessions are one of the best opportunities to do a hands-on health check. Running your hands and a comb through your dog’s coat lets you notice:
- Skin thickening, redness, or flaking — early signs of allergic dermatitis or other skin conditions
- Lumps or swellings that have appeared since the last session
- Flea dirt (tiny dark specks that turn red when wet) or live fleas
- Ticks embedded in the skin, especially around the neck, ears, and groin
- Hot spots — moist, irritated patches that dogs often hide under their fur
If you find anything unusual during a brushing session, that early detection window matters. Conditions caught early are generally easier to address. For skin issues discovered during grooming, dog allergy and skin care offers guidance on common dermatological concerns.
Types of Dog Brushes and How to Choose
Walk into any pet store and the brush wall is overwhelming. Most dogs need only two or three tools, but choosing the right ones requires understanding what each brush actually does.
Slicker Brush: The All-Rounder for Tangles and Undercoat
A slicker brush has a flat or slightly curved pad covered in short, fine wire pins set at an angle. It’s the most versatile tool in the grooming kit — effective at removing loose fur, working through minor tangles, and fluffing the coat.
Slicker brushes work well on medium and long coats, double coats, and curly coats. They’re the primary tool in the line brushing technique described below. The key to using one correctly is pressure: the pins should glide through the coat, not scrape the skin. On bony areas like the spine or hips, ease off significantly.
Pin Brush: Daily Maintenance for Long Coats
A pin brush looks like a human hairbrush — an oval pad with widely spaced, round-tipped metal or rubber pins. It’s gentler than a slicker brush and ideal for daily maintenance on long, silky coats where the goal is smoothing and detangling, not heavy undercoat removal.
Breeds like Afghan Hounds, Yorkshire Terriers, and Maltese do well with a pin brush for everyday sessions, with a slicker brush reserved for more thorough grooming.
Comb: Finishing and Tangle Detection
A metal comb — specifically a wide-tooth comb with teeth of varying spacing on opposite ends — is the finishing tool that many owners skip. It shouldn’t be.
After brushing, running a comb through the coat reveals any tangles the brush missed. A brush can glide over a developing mat at the skin level while the outer coat looks perfectly smooth. A comb detects it immediately. Use the wide end first on thicker sections, then the fine end for finishing and checking the work.
Rubber Brush (Curry Brush): Short Coats and Bath Time
A rubber curry brush or grooming mitt is the right tool for short-coated dogs. Its rubber nubs massage the skin while grabbing loose hair, and short-coated dogs often find it more comfortable than wire-pin tools.
Rubber brushes also excel at bath time. Using one in circular motions while lathering helps work shampoo down to the skin and loosens dead fur that rinses away cleanly.
Deshedding Tool: Seasonal Coat Blow Management
Deshedding tools have closely spaced stainless steel teeth designed to reach into the undercoat and pull out loose, dead fur in bulk. They’re highly effective during seasonal coat blows — the twice-yearly period when double-coated breeds shed their entire undercoat.
Use deshedding tools selectively and gently. Overuse or excessive pressure can damage the topcoat, known as coat guard damage. Limit sessions to 10–15 minutes and use on a fully clean, dry coat. During spring shedding season, these tools are invaluable for managing the volume of loose undercoat that would otherwise end up on your furniture.
Quick-Reference: Brush Selection by Coat Type
| Coat Type | Primary Tool | Secondary Tool | Avoid |
|---|---|---|---|
| Long, silky (Maltese, Yorkie, Shih Tzu) | Pin brush | Metal comb, slicker | Deshedding tool |
| Double coat (Golden, Husky, Corgi) | Slicker brush | Deshedding tool (seasonal) | None |
| Short, smooth (Beagle, Boxer, Frenchie) | Rubber curry brush | Soft bristle brush | Wire slicker (too harsh) |
| Curly (Poodle, Bichon Frise, Doodle) | Slicker brush | Metal comb | Deshedding tool |
| Wire/Rough (Terriers, Schnauzer) | Slicker brush | Metal comb | — |
How to Brush Your Dog: Step-by-Step
Having the right brush matters, but technique matters just as much. Many owners brush only the surface of the coat, which makes the dog look presentable while leaving undercoat and near-skin mats completely untouched.
Pre-Brushing Setup
Before you begin:
- Choose a consistent location. A non-slip surface where your dog feels comfortable makes a difference, especially for dogs who are anxious about grooming.
- Have treats within reach. Pairing brushing with brief treat rewards keeps sessions positive.
- Check the coat with your hands first. Run your fingers against the grain to feel for mats before the brush touches them — this is faster than discovering mats mid-session when the dog is already losing patience.
- Brush before a bath, not after. Wet hair is more elastic and prone to breakage. Mats that feel loose dry often tighten as the coat dries. Remove any tangles before the bath begins. For a full breakdown of bath timing and technique, dog bathing guide covers the complete process.
The Line Brushing Technique
Line brushing is the method professional groomers use to ensure every section of the coat gets brushed thoroughly — not just the surface.
Here’s how it works:
- Part the coat horizontally using your hand or a comb to expose a section of skin, creating a visible “line” of parted hair.
- Brush the hair above the line — the small amount of fur on the exposed side — in short, gentle strokes following the direction of hair growth.
- Release a little more coat by moving the part slightly upward, and brush that new section.
- Continue moving up the part in small increments, always brushing only the fur you’ve just released.
This method takes longer than surface brushing but reaches all the way to the skin. Mats at skin level — which are the ones causing actual discomfort — can’t hide from this technique.
Line brushing is most important on double-coated breeds and long-coated breeds where the undercoat is dense. For short-coated dogs, standard brushing against and then with the grain is sufficient.
Brushing Order: Neck → Back → Sides → Legs → Belly → Tail
Working in a consistent order prevents missed sections and helps dogs know what to expect:
- Neck and chest — Start here. Most dogs are comfortable with attention in this area, which starts the session on a good note.
- Back and topline — Work from neck to tail base using line brushing for dense coats.
- Sides and flanks — Brush downward with the coat.
- Front legs — Brush downward, paying attention to the “armpit” area where friction creates mats.
- Hind legs and thighs — The inner thigh area mats frequently and needs careful attention.
- Belly — Many dogs find this uncomfortable. Work quickly and gently, using a lighter touch.
- Tail — Brush the tail fur out from the base, finishing with the tip.
Sensitive Areas: Behind Ears, Armpits, Groin
These three zones mat first and mat worst. They’re also the areas dogs are most protective of.
- Behind the ears: The combination of thin skin, friction from collars, and frequent moisture from ears makes this area prone to dense matting. Use a comb here rather than a brush — more control, less pulling.
- Armpits: Every step your dog takes creates friction in the armpits. Check and brush this area at every session. A slicker brush on low pressure works well once mats are teased apart.
- Groin and inner thigh: Similar friction issues. If your dog is uncomfortable, take it slowly and reward. For dogs who received paw area brushing and foot care, extending that comfort to the inner leg area is a natural progression.
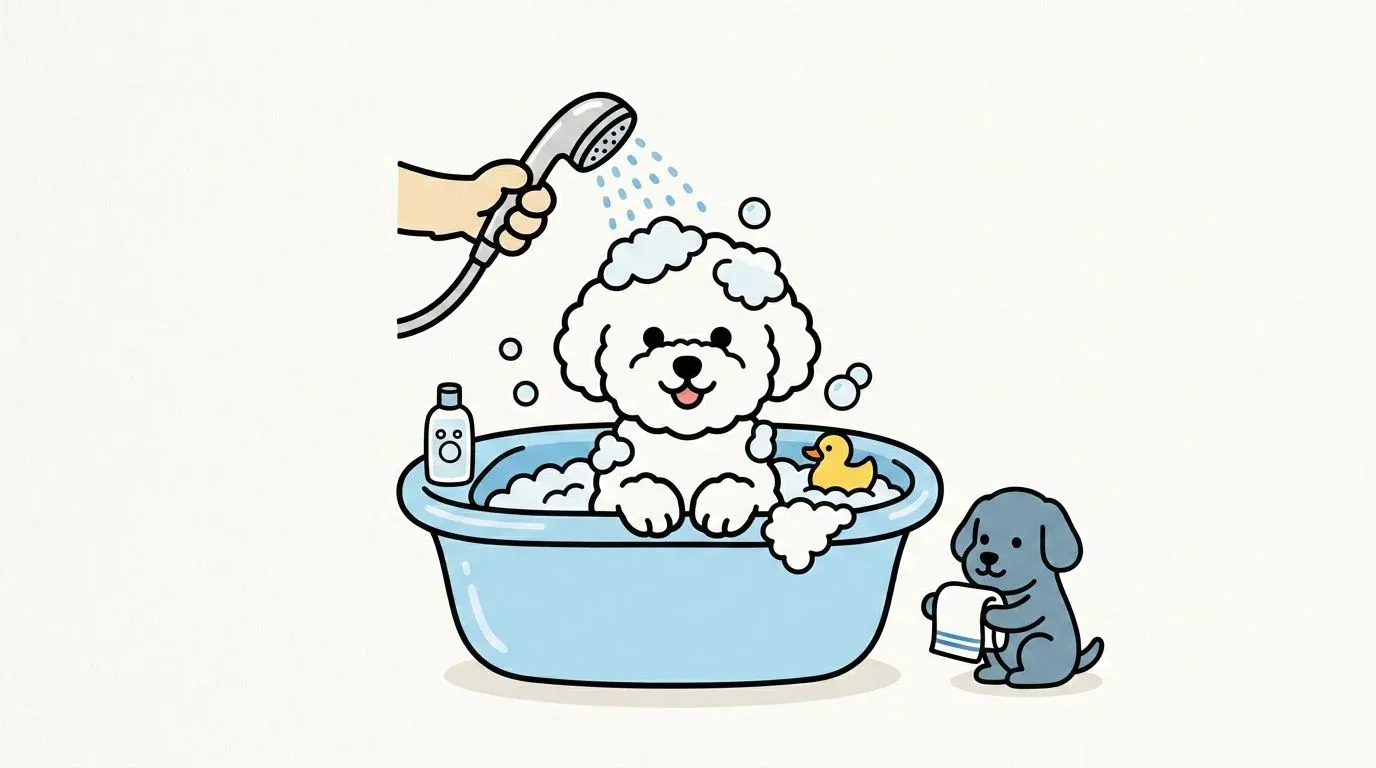
Pre-Bath vs Post-Bath Brushing
The general rule: brush before the bath, comb after.
Before the bath, remove loose fur and work through any tangles. Wet mats tighten as they dry and become significantly harder to remove. After the bath, once the coat is fully dry, a light pass with a comb confirms no tangles formed during drying and finishes the coat.
Brushing Frequency by Coat Type
How often should you brush your dog? There’s no single answer — frequency depends on coat structure, length, and the season. Brushing too infrequently allows mats to form; brushing an already-irritated skin condition too aggressively can worsen it.
Long Coats (Maltese, Shih Tzu, Yorkshire Terrier): Daily
Long, silky coats tangle easily. A five-to-ten minute session daily prevents the accumulation that leads to serious matting. Without daily attention, long coats can develop mats in as little as two or three days, particularly behind the ears and in friction zones.
For breeds kept in a shorter “puppy cut,” daily brushing is still advisable — the cut reduces mat risk but doesn’t eliminate it, and maintaining a brushing habit makes grooming appointments easier.
Double Coats (Golden Retriever, Husky, Corgi): 3–4x Weekly + Seasonal
Double-coated breeds have two distinct coat layers: a soft, dense undercoat and a coarser topcoat (guard coat). Regular brushing — three to four times per week — keeps the undercoat from compressing into mats.
During coat blow seasons (typically spring and fall), increase to daily sessions. The volume of shed undercoat during a seasonal blow is substantial, and daily brushing is the most effective way to manage it without resorting to constant bathing. Summer grooming routines cover seasonal coat management through the warmer months.
One important note for double-coated breeds: shaving is not a substitute for brushing. The double coat provides insulation in both summer and winter, and shaving disrupts the coat’s structure in ways that can affect regrowth and temperature regulation.
Short Coats (French Bulldog, Beagle, Boxer): 1–2x Weekly
Short-coated dogs are the easiest to maintain. One or two weekly sessions with a rubber curry brush or grooming mitt removes loose hair and stimulates circulation. These breeds shed more than owners expect given the coat length, and weekly brushing prevents that loose hair from accumulating on furniture.
A brief wipe-down with a grooming cloth between sessions handles anything the weekly brush misses.
Curly Coats (Poodle, Bichon Frise): Daily Slicker + Bi-Weekly Comb
Curly and wavy coats are the most mat-prone. The curl traps shed hair inside the coat rather than allowing it to fall away, so a curly-coated dog can be mat-free on Monday and seriously tangled by Wednesday without intervention.
Daily slicker brushing keeps the curls separated. A thorough session with a metal comb every two weeks — using line brushing technique all the way to the skin — catches any developing mats before they become unworkable. Most curly-coated dogs also require professional grooming every six to eight weeks to maintain coat health.
What to Do When Your Dog Hates Brushing
A dog who actively resists brushing is a dog who has learned that brushing is unpleasant. In most cases, the behavior developed because early brushing sessions caused discomfort — from mats being pulled, incorrect brush pressure, or sessions that went too long before the dog was comfortable.
The good news: most dogs can be desensitized to brushing with the right approach.
Common Reasons Dogs Resist Brushing
Before assuming your dog is simply stubborn, check for physical causes:
- Current mats: If the coat is already matted, brushing will cause real pain regardless of technique. Address the mats first (see the section below) before beginning a positive association program.
- Skin sensitivity: Some dogs have sensitive skin due to allergies or dermatitis. The brushing session may be revealing an underlying condition. Skin conditions discovered during grooming are worth investigating if your dog consistently flinches in the same area.
- Wrong brush: A slicker brush used on a short-coated dog, or wire pins pressed firmly onto bony areas, genuinely hurts. Match the brush to the coat.
- Sessions that are too long: A 20-minute brushing session is too long for a dog who isn’t yet comfortable. Five minutes done well beats twenty minutes of struggle.
Desensitization: A Step-by-Step Protocol
Desensitization works by introducing the brush very gradually, staying well below the threshold of discomfort, and building positive associations over multiple sessions. According to ASPCA guidelines on desensitization and counterconditioning, the principle is consistent: never push the dog past the point where they begin to show stress.
Week 1: Brush = Treats
- Show your dog the brush. Give a treat. Repeat 10 times. Put the brush away.
- Do this twice a day. The goal is a positive emotional response to seeing the brush.
Week 2: Touch without brushing
- Touch the brush (not the pins) against your dog’s back. Treat immediately. Repeat.
- Move to different areas of the body — sides, neck, legs — staying with areas your dog is comfortable with.
Week 3: Pin contact, short strokes
- Turn the brush to the pin side and make one or two very short, light strokes on the back.
- Treat after each stroke. Keep sessions to two to three minutes.
Week 4 and beyond: Gradual expansion
- Increase the number of strokes and areas covered, always watching for stress signals (lip licking, yawning, turning away, tucking the tail).
- If your dog shows stress, take one step back and rebuild. Never push through visible discomfort.
Positive Association with Treats and Calm Energy
The environment during brushing matters. Dogs pick up on owner tension — if you approach brushing expecting a fight, your dog will pick up on that anticipation.
A few practical approaches:
- Use high-value treats (small pieces of chicken or cheese, not kibble) specifically reserved for brushing sessions.
- Keep early sessions very short — two to three minutes maximum — ending before the dog wants to leave.
- Brush at the same time of day, in the same spot. Predictability reduces anxiety.
- If your dog bites at the brush or your hand during sessions, that’s a clear sign you’ve moved too fast. Return to an earlier step in the protocol.
For dogs who bite during brushing, the bite is almost always a stress response rather than aggression. Management approaches for dogs with resource guarding share relevant behavioral principles, though brushing resistance has its own desensitization path.
How to Safely Remove Mats and Tangles
Mats happen. Even with excellent brushing habits, friction zones behind the ears and in the armpits can develop tangles between sessions. The approach depends entirely on the severity.
Severity Levels: Light Tangles vs Tight Mats
Light tangles feel like a loose cluster — you can see some separation between hair strands, and the mat doesn’t pull the skin when you lift it. These are workable at home.
Moderate mats feel denser, with the hair compressed together. There’s some tension on the skin when lifted. Work slowly; these are manageable but require patience.
Tight mats (also called “pelts”) lie flat against the skin and feel like a solid mass. The skin pulls noticeably when the mat is lifted. Forced removal of tight mats risks tearing the skin. These require professional handling — attempting to brush or cut through them at home without proper training is likely to cause pain and potentially injury.
Is matted hair painful for dogs? Yes, even before grooming begins. Tight mats create continuous tension on the skin and can restrict circulation in the affected area. Dogs with significant matting often adjust their posture or movement to relieve the pull. Early intervention prevents this entirely.
Detangling Spray and Cornstarch Methods
For light to moderate mats, start with a detangling spray or conditioner. Apply to the mat, allow it to penetrate for a minute or two, then work from the outside of the mat inward:
- Hold the mat at its base, between the skin and your fingers. This prevents the pulling sensation from reaching the skin.
- Use a wide-tooth comb to tease apart the very tips of the mat — the outermost strands.
- Work inward in very small increments, using short strokes rather than long dragging pulls.
- Once the tips are free, work deeper into the mat the same way.
The cornstarch method is an underappreciated home technique that appeared frequently in groomer community discussions. Dry cornstarch worked into a dry mat reduces friction between hair strands and can make the mat easier to tease apart. Apply a small amount, work it in with your fingers, then proceed with the wide-tooth comb as above. Rinse the coat thoroughly afterward.
For reference, detangling spray can be made simply at home by diluting a small amount of dog conditioner in water in a spray bottle — a method many groomers use between appointments.
During brushing sessions, discovering hot spots or irritated patches under mats is common. If you find moist, red, inflamed skin under a mat, stop and allow the area to air dry before contacting your veterinarian.
When to See a Professional Groomer
Seek professional help when:
- Mats lie flat against the skin and cannot be lifted without significant skin tension
- Your dog vocalizes, snaps, or shows extreme stress when you attempt to work on mats
- The matted area appears red, moist, or has an odor — signs of skin infection underneath
- Mats cover a large portion of the body (full-body matting requires a professional “shave-down”)
Professional groomers have tools — specifically mat splitters and specialized clippers — and techniques that allow mat removal with significantly less discomfort than brush-out attempts at home. When in doubt, the professional consultation is worth it. A groomer can also assess whether underlying skin issues are contributing to the mat formation.
During any thorough brushing session, particularly through dense coat areas, check for signs of external parasites. Flea prevention and detection explains what to look for if you notice flea dirt or movement in the coat.
A regular brushing routine, built gradually and consistently, pays dividends across every dimension of coat health. Mats stay small or don’t form at all. Skin issues get caught early. Dogs who learn that brushing means treats and calm handling become genuinely easy to groom. The five minutes a day you invest now prevents the hour-long mat-removal session — and the vet visit for the skin infection underneath — later.
Start with the right brush for your coat type, learn the line brushing technique, and build your dog’s tolerance gradually. That’s the complete picture of how to brush a dog well.
References
FAQ
Is it better to brush a dog wet or dry?
How often should you brush your dog?
Is matted hair painful for dogs?
My dog bites me when I brush him — what should I do?
How do I remove matted dog fur without cutting it?
Related Articles
How to Bathe a Dog in 7 Steps: Frequency, Technique & Skin Protection
Learn how to bathe a dog safely in 7 steps — including water temperature, shampoo selection, and a dedicated guide for senior dogs with arthritis.
Dog Spring Shedding Care: Brushing, Skin, and Joint Health
Science-backed dog spring shedding care: brushing routines, breed guides, skin nutrition, and the skin-to-joint inflammation link grooming guides miss.

5 Summer Dog Grooming Styles: A Coat-Type Guide to the Best Cut for Your Breed
Should you shave your dog this summer? Learn the 5 grooming styles, which breeds should never be shaved, and a breed-by-breed summer coat care guide.